Last year I took E to decorate gingerbread houses "with Santa" at the Kitchener Market. It was fun, and all things considered they did a great job given the huge group they were dealing with. But this year I waited too late to book a spot (it's a free event, seats go fast when they open registration for it), and E was also asking if we could have a party or playdate with all his friends. So I decided I was feeling brave (or foolish) and we would host a gingerbread house playdate.
While it was a lot of work, it was also really fun, and I suspect we will do it again in the future. I'm going to make some notes for myself so I remember what worked and what we could do better--and hey, maybe the notes will help someone else, too. We did the prep work over two days, and decorated on the third day. You could do the prep in one day, but with small children and other life getting in the way I wouldn't recommend it. There are a LOT of details, so I'm doing separate posts for each phase.
Baking
First, the gingerbread itself. We baked our own, using this recipe with minor changes. I didn't have cardamom, but I added some nutmeg and cloves, and increased the cinnamon a bit as several reviewers suggested. I did one batch with shortening as written and one with butter as suggested by reviewers. The butter did taste better, but it also spread a tiny bit more and was a bit softer, so maybe not ideal for construction. It worked, though.
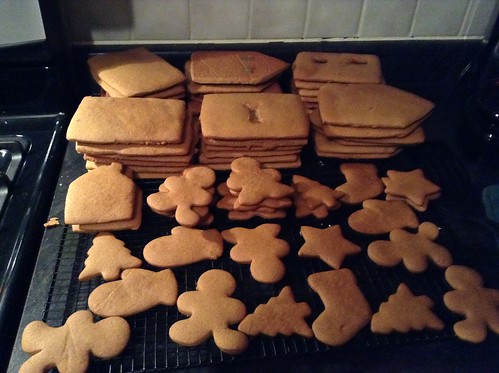
I found one batch of that recipe made three houses using the templates we made, with a bit left over for cookies. We had six kids decorating houses, so two batches worked out perfectly. I largely followed the directions in the recipe for rolling and cutting out the dough--rolled it between two sheets of parchment, cut on the parchment and peel off scraps, bake directly on that parchment, because the dough is too soft to transfer easily to another sheet. Make sure you leave an inch or more between each piece you cut out so they don't grow together in the oven.
For cutting, I used the "Gretel's Grotto" templates from this site, except we extended the length of the sides (and therefore the roof) by an inch or two.Next time I think I would extend the roof to be a bit longer than the sides, for easier construction, although it worked fine this way.
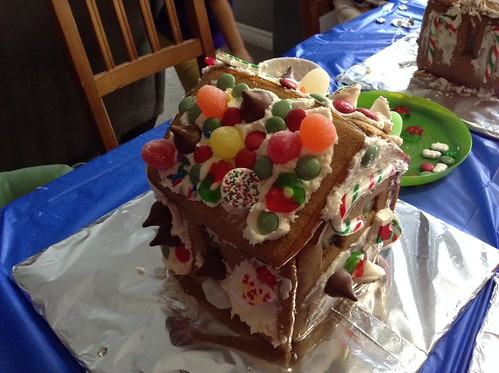
 I also followed a suggestion I read online and cut windows into some of the pieces, and dropped crushed up hard candy into the spaces to melt into "stained glass." The recommendation I saw was to use Life Savers, so that's what we did for most of them. When we ran out with one panel to go, E donated two lollipops to the cause--and it turns out those windows were the prettiest by far. So next time I would experiment with other hard candies. Jolly Ranchers might be good?
We used the leftover dough to make cutouts--all the traditional shapes, plus I free-form cut out some house shaped cookies. This was a suggestion I got from another mom on Ravelry, and it was a great one--three of the kids coming to our playdate had toddler siblings, who would also want to participate but weren't up for doing full houses. The house shaped cookies gave them something to do while the big kids did full houses.
Comments