We decided to try something new for our Easter Eggs this year. As with so many Pinterest/online craft ideas, elements of it were really successful and others were a disappointment.
The suggestion I found from a few places was to use various objects to block the shell from getting dyed--stickers and rubber bands, primarily. You could then remove them and either leave those areas white or dip in a second colour for two-tone eggs.
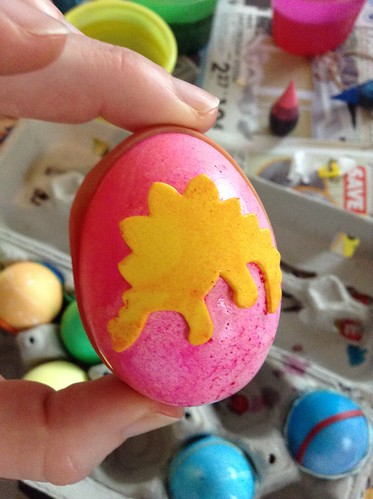
We were most excited about the stickers, because we have some pretty fun ones hanging around here. After all, what could be better than making your own dinosaur egg:
Unfortunately, the stickers did not adhere well to the chilled eggs, which had a bit of condensation forming on them, so the final effect was pretty subdued:
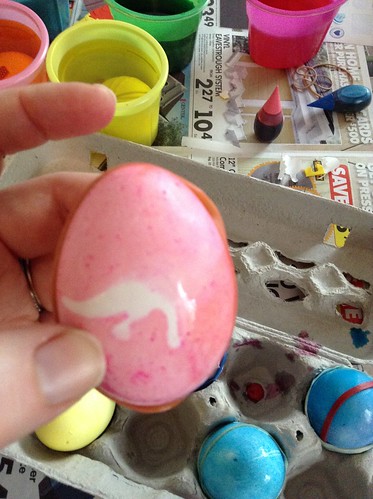
(Yes, that's a different egg and sticker than in the top photo, oops! But you get the idea.)
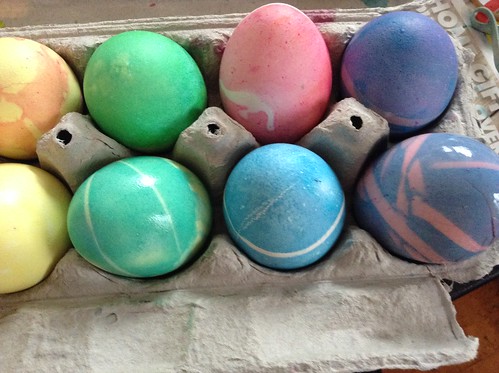
The elastics were much easier to get in place, although we had a hard time positioning as many of them in different positions as some of the tutorials we saw.
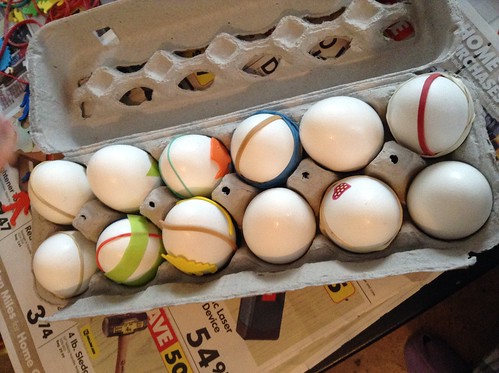
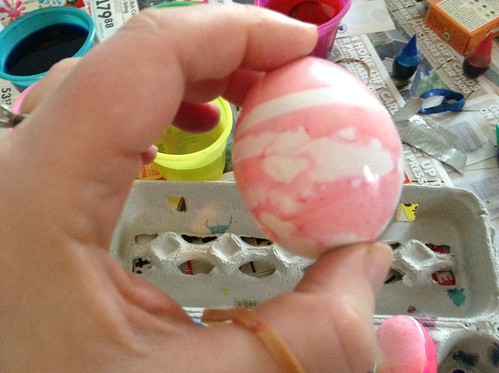
I also tried cutting out strips and shapes from painter's tape (the bright green in the photo above), but that was even harder to get to adhere than the stickers. The pink egg below is one that had both elastics and tape on it:
Overall, the eggs were still really pretty. I might try the stickers/tape again with eggs that were closer to room temperature, perhaps shortly after cooking them, to see if they would stick better. But I think next year we're going to try either fancy designs with crayons (also applied shortly after cooking, when the eggs are still warm) or the beautiful nature designs I have seen elsewhere, using pantyhose and leaves/flowers.
The suggestion I found from a few places was to use various objects to block the shell from getting dyed--stickers and rubber bands, primarily. You could then remove them and either leave those areas white or dip in a second colour for two-tone eggs.
We were most excited about the stickers, because we have some pretty fun ones hanging around here. After all, what could be better than making your own dinosaur egg:
Unfortunately, the stickers did not adhere well to the chilled eggs, which had a bit of condensation forming on them, so the final effect was pretty subdued:
(Yes, that's a different egg and sticker than in the top photo, oops! But you get the idea.)
The elastics were much easier to get in place, although we had a hard time positioning as many of them in different positions as some of the tutorials we saw.
I also tried cutting out strips and shapes from painter's tape (the bright green in the photo above), but that was even harder to get to adhere than the stickers. The pink egg below is one that had both elastics and tape on it:
Overall, the eggs were still really pretty. I might try the stickers/tape again with eggs that were closer to room temperature, perhaps shortly after cooking them, to see if they would stick better. But I think next year we're going to try either fancy designs with crayons (also applied shortly after cooking, when the eggs are still warm) or the beautiful nature designs I have seen elsewhere, using pantyhose and leaves/flowers.
Comments